

 has the facebook

Love to learn
How to make a
mitten (or glove) garland
Follow our step by step guide
In this project you'll learn how to make a mitten/glove garland. The perfect Christmas tree decoration!
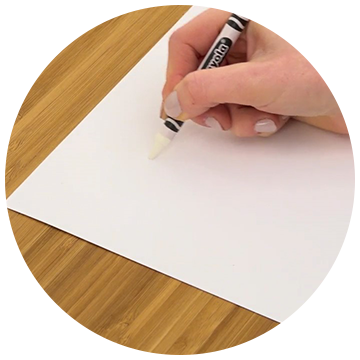
Step 1: Draw your mitten
Using your white crayon draw a glove/mitten shape on your cardstock. You can add patterns or shapes within the gloves. This part is hard to see on the paper, but don’t worry it will come to life in the next step!
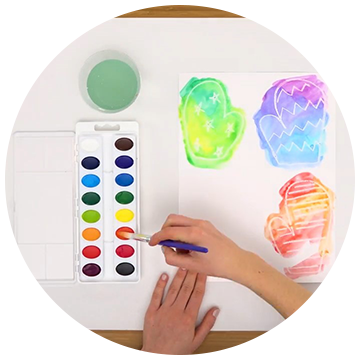
Step 2: Make them appear
Place down some butcher’s paper to protect your surface. Then, dab your paintbrush into some water and dip into your watercolour paint. Brush the paint gently over the crayon drawing. Your mittens will magically appear! Decorate your remaining mittens using a mix of colours – the brighter the better!
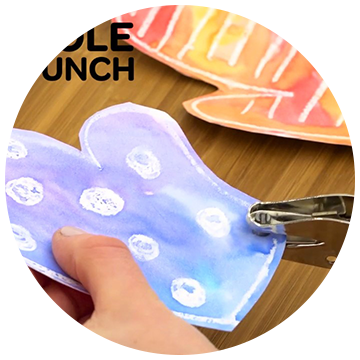
Step 3: Cut it out
Once the paint has dried, it’s time to cut out your mittens. Once the shapes are cut, punch two holes into the bottom of each mitten using a holepunch.

Step 4: Threading time
Carefully thread the ribbon through the holes on your mittens. Space the gloves out evenly across the length of your ribbon.
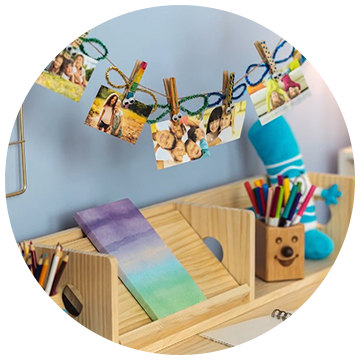
Step 5: Hang your garland
Cut the end of your ribbon to create a garland. This can be as short or long as you prefer. And then you’re done! Now it’s time to hang your garland.


