


NAIDOC Week is a dedicated time each year to celebrate the history, achievements and culture of Aboriginal and Torres Strait Islander peoples. (The acronym NAIDOC stands for the National Aborigines and Islanders Day Observance Committee.) This year, NAIDOC takes place from 6 to 13 July, and the theme is ‘The Next Generation: Strength, Vision and Legacy’.
Pete Ballard, Officeworks Human Rights and First Nations Affairs Manager, shares what this year’s NAIDOC Week theme means to him: “The theme 'The Next Generation: Strength Vision and Legacy' makes me think of those who came before us, and the responsibility we carry to build something meaningful for those who will follow. Language plays a powerful role in that. It carries culture, identity and a deep sense of connection to Country. When we take the time to listen, learn and support the continuation of First Nations languages, we are helping the next generation to stand strong in who they are and where they come from.”
To mark the event, proud Gunditjmara-woman and artist, Bayley Mifsud, chose animals that are significant in Indigenous Australian stories and culture as craft projects. As kids create their paper animals to make these NAIDOC Week crafts, they can learn more about First Nations, Indigenous languages and the animals’ significance in Aboriginal and Torres Strait Islander culture.
Make a Turtle – Gurlibil in Yawuru Language
Up in the beautiful Kimberley region, five of the world’s seven species of marine turtles inhabit Roebuck Bay. Turtles are so special to the Yawuru nation that, in the six seasons of the year they recognise, one coincides with when turtles lay their eggs. In the Yawuru language, a turtle is called gurlibil. With so many little pieces to cut out, this is a fantastic project to really flex fine motor skills. Children can tailor the trickiness of the shell to suit their scissor skills and experience.
Step 1 Download and print out our template, and cut out the gurlibil, tracing it onto a piece of light green cardboard. Use scissors to trim around the pencil outline of your gurlibil.
Step 2 Cut out its shell on another piece of cardboard, this time a darker green.
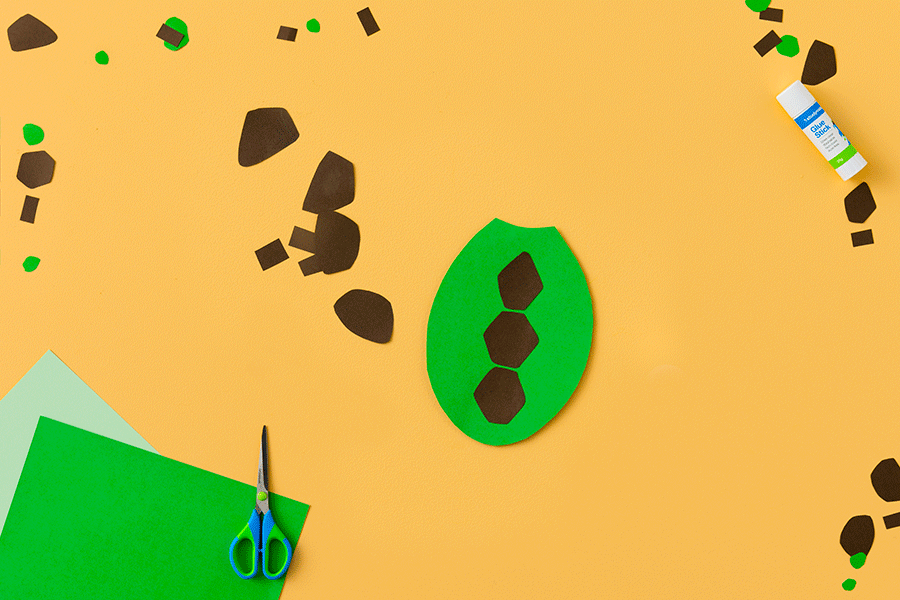
Step 3 Then take a piece of brown paper, and cut out shapes to glue onto the shell of the gurlibil. Hexagon shapes fit together nicely!
Step 4 Glue all the shapes onto the gurlibil shell, and try to fit them together neatly. If your shapes don’t fit together, trim them and have a play – it’s like a homemade puzzle.
Step 5 Once all the shell pieces are glued down, make two small cuts on either side of the shell.
Step 6 Carefully bend one side of the cut under the other, and glue to the inside of the shell, repeating on the other side. This will make your shell bend upwards.
Step 7 Now make some small shapes out of green and brown paper and glue onto the gurlibil’s flippers to give it texture.
Step 8 Then add glue around the edges of the gurlibil’s middle and press the shell piece down onto the glued area, to hold it in place.
Step 9 Add eyes by cutting our small black and white paper circles and gluing on. Your gurlibil is complete – and completely cute.
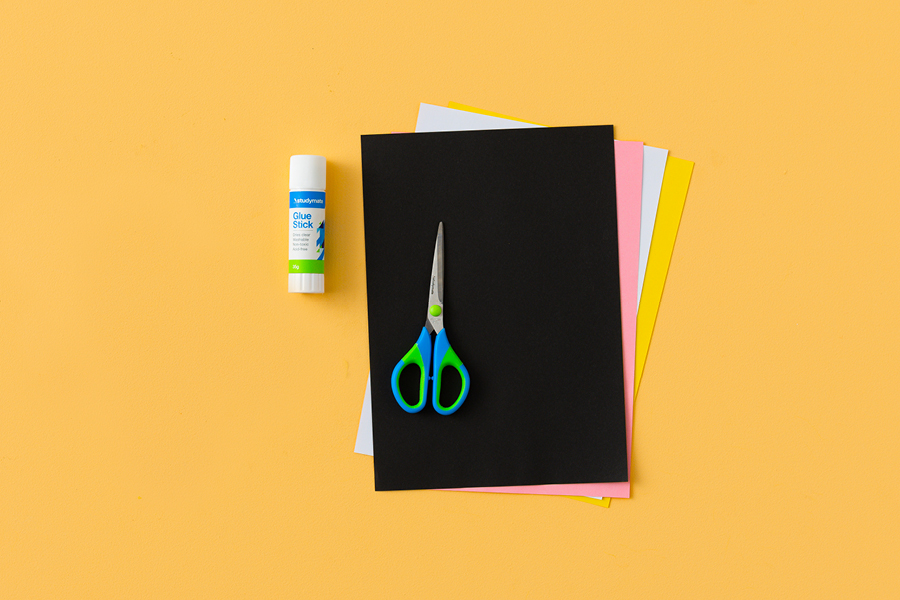
What You'll Need
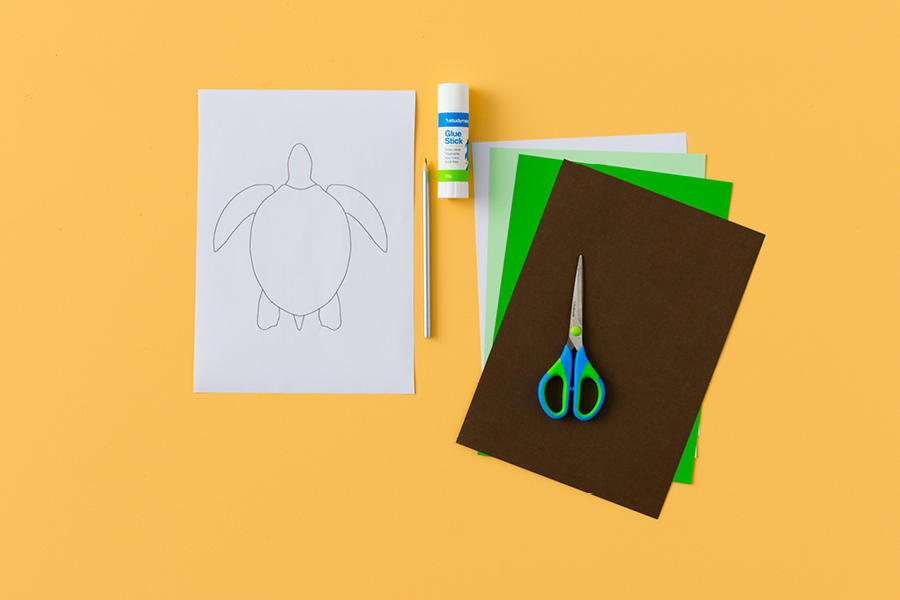
- Kadink Construction Paper A4 Assorted 500 Pack
- Keji Graphite Pencils HB 5 Pack
- Studymate Glue Stick 8g
- Studymate Soft Grip Scissors 6"/152mm
- Kadink A4 Coloured Card 180gsm 30 Pack
SEE ALSO: How to Create Tape Art With Kids
Make a Pelican – Junggar in Mibiny Dialect of Bundjalung Language
In a Bundjalung story, we can thank the pelican for the sun – a pelican was jealous of an emu and the size of her eggs, so the pelican threw the emu egg into the sky, where it cracked and turned into the sun.
The word ‘pelican’ in Bundjalung language is spelt and pronounced in different ways depending on where you are in Bundjalung Country. If you’re around Ballina, it’s ‘jungur’; in Casino and the west, it’s ‘junghar’; in the northern places like Murwillimbah, it’s ‘jungar’; and it’s ‘junggar’ (pronounced joong-gar) in the Mibiny language varieties between the Logan and the Tweed Rivers.
Ripping up the paper ‘feathers’ in this craft activity works children’s dexterity and hand-eye coordination, making it a great sensory workout, while still being fun.
Step 1: Download and print out our template and cut out the junggar, tracing it onto a piece of thicker white cardboard and then cutting around the outline.
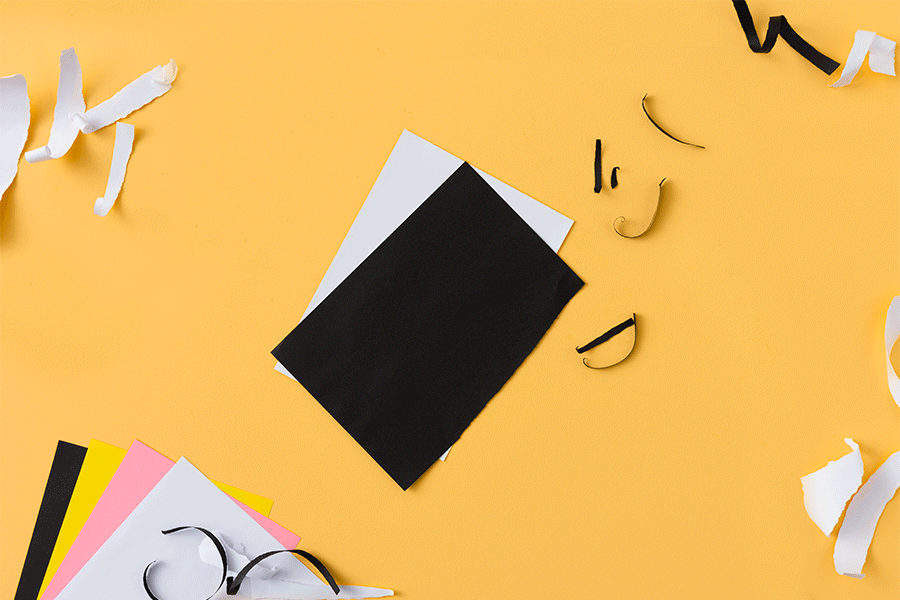
Step 2: Take a piece of plain black paper, and rip little thin strips off until you have a small pile.
Step 3: Then do the same with a piece of plain white paper, tearing little strips with your fingers, which will become the junggar’s feathers.
Step 4: Cut out a pink beak for the junggar. If it is hard to create the shape, cut out the beak from the template, and then trace that onto the pink paper and cut it out again.
Step 5: Take a piece of yellow paper and cut out a small circle to make the base of the junggar’s eye, then cut out a smaller black circle for the pupil. (If your scissor skills are up to it, you can add a cute nick in the pupil.)
Step 6: Glue on the eye bits, starting with the yellow, then the black, and then glue on the junggar’s pink beak.
Step 7: Glue the paper strip feathers onto the body, starting with the black around the top edges and in the middle, then layering white feather strips over the top until the junggar is nice and fluffy.
What You'll Need
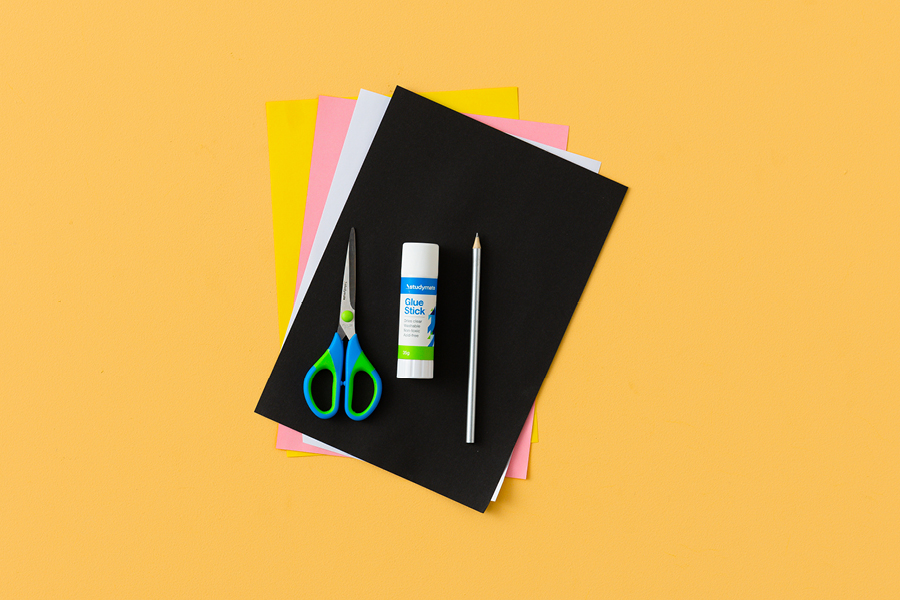
- Kadink Construction Paper A4 Assorted 500 Pack
- Studymate Soft Grip Scissors 6"/152mm
- Studymate Glue Stick 8g
- Keji Graphite Pencils HB 5 Pack
SEE ALSO: 3 Ancient Egypt Crafts for Kids
Make a Yellow-Tailed Black Cockatoo – Weelan in Gunditjmara Language
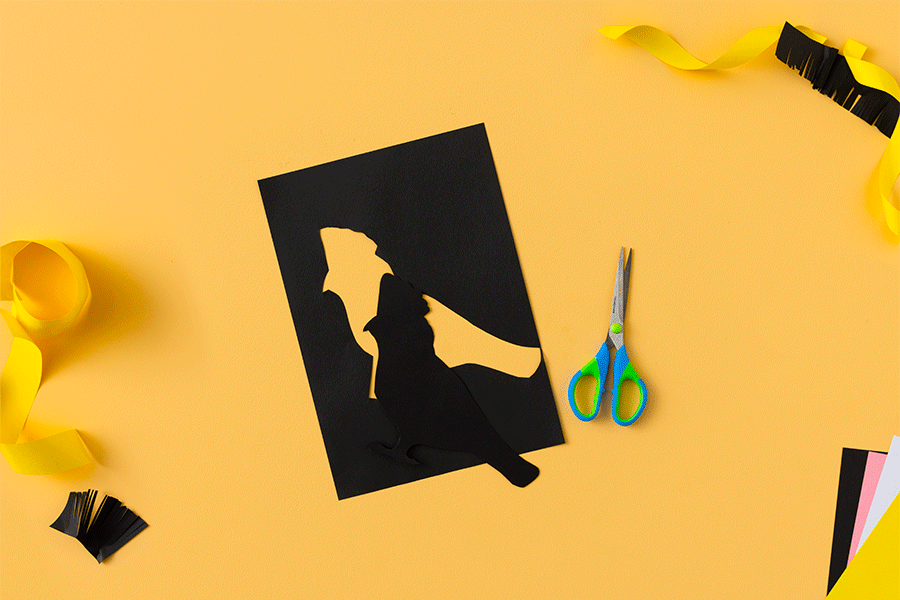
The yellow-tailed black cockatoo is important to the Gunditjmara culture – it acts as a guiding spirit for the nation and warns them of oncoming danger, as well as connecting them to the Dreamtime. In their local language, a yellow-tailed black cockatoo is called weelan.
The precision scissor work in this craft suits older children, but can easily be adapted for smaller hands! Instead of lots of fine snips to make fluffy, feather-like paper pieces, they can try chunkier cuts and work their way up to a more detailed weelan as they get older.
Step 1: Download and print out our template and cut out the weelan outline, then trace it onto a piece of black paper.
Step 2: Use scissors to cut around the traced weelan, so the black shape is now ready to decorate.
Step 3: Cut out a wing, some head feathers and a tail feather out of more black paper. If you have trouble freestyling the shapes, you can first cut them off the original template you printed out, then trace them onto black paper and cut them out again.
Step 4: Slowly and carefully, make lots of tiny snips around the outside of each of these extra paper shapes. This will make the edges fluffy, like feathers.
Step 5: Out of yellow paper, cut out a yellow tail feather and a small circle for the weelan’s cheek area. Using your scissors, make small cuts around the outside of the yellow pieces, to feather them.
Step 6: Cut out some small circles in pink, white and black to make up the weelan’s eye. You can cut the beak and claw feet off your template too, as they work well in white paper.
Step 7: Stick on your black paper feathers, then the extra yellow feathers, and then add the eye, beak and feet and watch your weelan start to take shape – and flight!
What You'll Need
- Studymate Glue Stick 8g
- Kadink Construction Paper A4 Assorted 500 Pack
- Studymate Soft Grip Scissors 6"/152mm
- Keji Graphite Pencils HB 5 Pack
Resources
Looking for more ways to dive into Indigenous history and culture with your family? Here are some helpful resources to get you started:
For the young
- Little J & Big Cuz – children’s animation series from NITV, which gives kids an opportunity to understand and delve into traditional Aboriginal language and culture. Episodes of the series have also been translated into multiple Indigenous languages
- My Country by Ezekiel Kwaymullina and Sally Morgan – a child-friendly journey through Country, celebrating and emphasising a connection with place
- Cooee Mittigar by Jasmine Seymour, illustrated by Leanne Mulgo Watson – an invitation to walk on Darug Country and discover its beautiful landscape and animal totems
- What is NAIDOC? with BTN – an introduction to the origins of NAIDOC Week from the team at the ABC’s Behind the News
- What It’s Like: Being Aboriginal – part of an educational ABC series targeted at children in Years 5-10
- ABC Education collection has a great selection of videos that celebrate achievements and educate people on Indigenous history and culture for a variety of ages and interests.
For the young at heart
- Bangarra – watch some incredible performances by Australia’s premiere Aboriginal and Torres Strait Islander dance company via ClickView and Kanopy
- Ask Us Anything: Aboriginal and Torres Strait Islander People – part of a series by The University of Sydney
- TEDx Talks: The Uluru Statement from the Heart – presented by Dean Parkin, this talk explores the movement to create a better future for Aboriginal and Torres Strait Islanders, starting with acknowledging their sovereign rights.
- 50 Words – an initiative from the Research Unit for Indigenous Language at The University of Melbourne, with the aim for students at schools and educational organisations to have the opportunity to learn 50 words in their local Indigenous language. Words and languages are being added all the time.
This article was originally published in June 2021 and has been updated.
