


If you’re a student looking to pretty up your next assignment, a teacher who wants to create engaging resources for your classroom or a small business owner wanting to make compelling social media posts, then it's time to discover Canva. Whether you’ve got artistic flair or you’re a graphic design newbie, the online design platform makes it easy to create beautiful flyers, invites, templates and more. We asked two amateur designers for their best Canva tips and tricks to help you get started.
What is Canva and Why is It So Popular?
Founded in Australia in 2013, Canva has grown into a global tech juggernaut worth an estimated $40 billion. The company is headquartered in Sydney with users spread across 190 countries.
Despite its worldwide reach, the secret to Canva’s success lies in its simplicity and ease of use.
“Canva is just really user-friendly,” says Melinda Shelley, founder of 123Read2Me, a volunteer-run charity providing free books to disadvantaged children. “We don't have the funding to use someone who's skilled in graphic design, but with Canva I can have some ideas, see what other people are doing, and voila!
“We use it for social media posts, flyers and cheat sheets. Its versatility has allowed me to communicate our cause effectively and engage with our supporters on a whole new level.”
SEE ALSO: Clever Ways to Use Canva in Your Working Life
Canva Templates in the Classroom
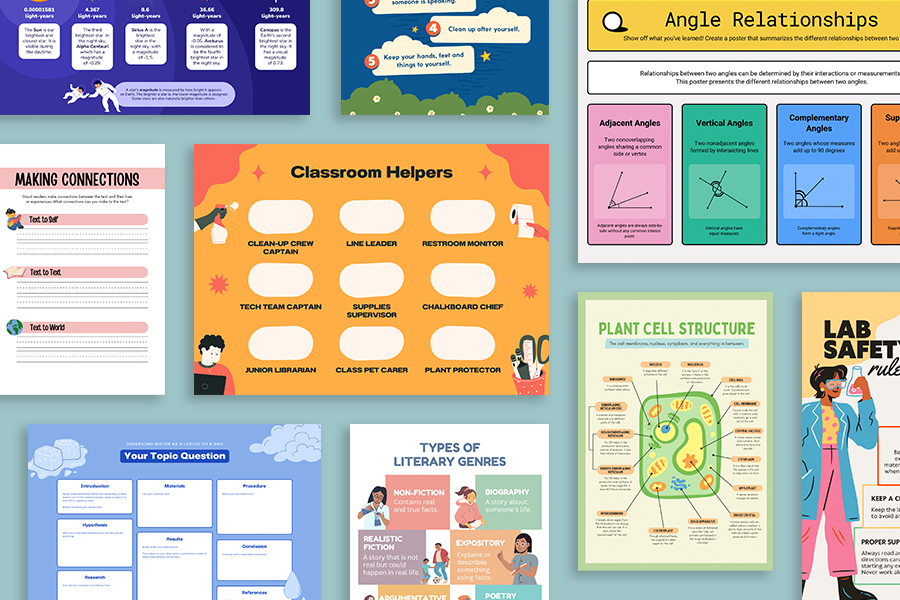
One of the most popular resources of the platform is the enormous library of Canva templates created by professional designers that you’re free to edit and customise. Liz Michelle, an early childhood educator with experience working in primary schools, pre-schools and as a childcare centre director, says Canva templates are especially helpful when she’s creating worksheets and printables for the classroom.
“There are teaching resources out there, but sometimes they're a bit too specific. Canva has so many amazing templates and all these different choices, and you can just add some text and it already looks good,” she says.
Liz says her 13-year-old son, Andy, also uses Canva templates for school projects with a strong visual element. “He recently did a project on hydroelectricity where he had to show how it works, and he used Canva to present the information with a nice design.”
Melinda and Liz agree that it’s just as easy using Canva on the go on their phones – especially when it comes to making social media content – as it is the desktop app.
“I use it for reels; you can create the images and text, and on Facebook you can add the sound to it,” Melinda shares.

SEE ALSO: How to Create Inspiring Teaching Resources
Finding Your Canva Graphic Design Groove
There are as many forms of creative expression on the platform as there are Canva users, and Liz says experimenting is the easiest way to hone your skills.
“Nobody sat me down and taught me how to use Canva,” she says. “It's about trial and error, and not being scared of the different elements. All of a sudden, you can change that colour or background, or delete that element and add another, or change the size or shape, or add a video. There's so much you can do.”
Clever Canva Tips to Save You Time
Keyboard shortcuts are always a good thing, especially when you’re getting used to work in a new application. Here’s our top eight Canva tips.
- Add text: Click the ‘T’ button on your keyboard to add a text box.
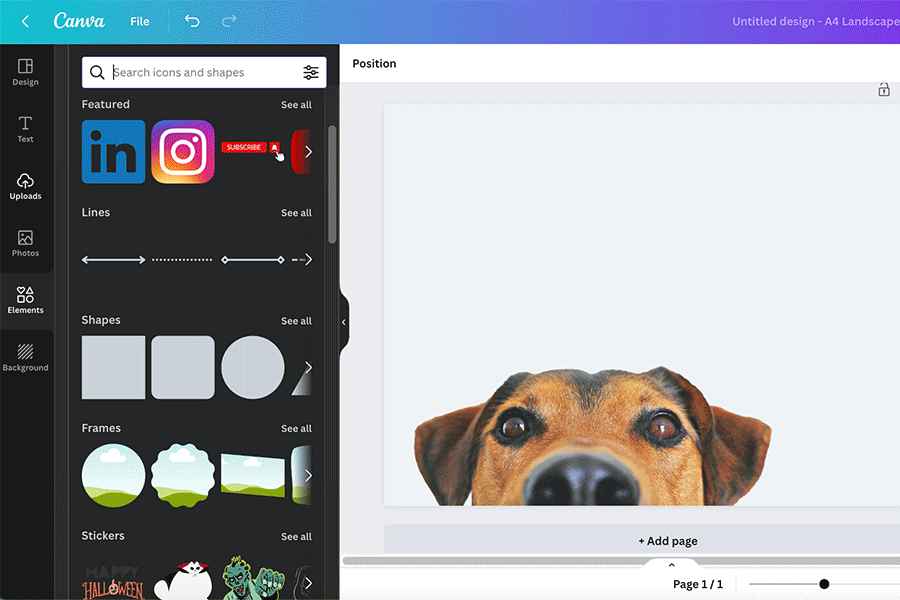
- Upload images easily: Open the desired folder from your desktop and drag and drop your images onto the design page you’re working on and they’ll upload. This saves you having to upload images via the ‘Upload’ button in the left-hand menu.
- Duplicate or clone elements: Select the element on your artboard you’d like to duplicate, then hit ‘Command D’ or ‘Control D’ – you’ll now have two of the same thing.

- Group text or elements: Select the first element until you see a box around it. Then hold down the ‘Shift’ key and select the second element and so on. Then you click on the ‘Group’ option on the left of the pop-up menu. Now when you move those elements they are all grouped together, so if you move them they won’t lose their position. To ungroup them, click on any of the elements and select ‘Ungroup’.
- Move through layers: Hit the ‘Command’ or ‘Control’ key, click the element and it will select the layer behind the one you are on. Click again and it will select the layer behind that one and so on.
- Add a hyperlink: Hit ‘Command’ or ‘Control’ and ‘C’ to copy the URL, select the ‘Link’ icon from the pop-up menu, and hit ‘Command’ or ‘Control’ and ‘V’ to paste.
- Add a gradient to the background of an image: Go to ‘Elements’ (found in the far left-hand menu) and search for ‘Gradient’. Select the shape that works best for your project. Square is the most popular. The shape will pop onto your design. Then, drag it to the top left-hand corner, place your cursor in the bottom right-hand corner of your shape until a small two-way arrow appears, and drag to fit it over your entire image. Above your workspace in the top left you will see the current colours of your gradient. Click on these to change your colours.
- Edit an existing PDF: Drop the PDF onto the homepage. Canva will automatically recognise text boxes and elements, allowing you to move them around.
Hot Tip: You can design your business cards, posters, invitations, booklets and much more from thousands of Canva templates for free with Officeworks X Canva? In three easy steps you can design it, create it and print it.
Use the Magic Design tool
Know what you’d like to create but can’t find a template that fits your needs, or how to make it come to life? Transform a blank work presentation or raw video into a cool creative, featuring headlines, styling and the media you want, by simply providing some text and a photo. Magic Design then auto-generates inspiring and personalised creative templates to suit you. Follow these simple steps, and let the magic begin …
- To add flair to your video or media, click the homepage search bar and select ‘Start from media’.
- Upload your photo or video and hit ‘Add to template’. Eight refined templates will be generated using your own media.
- Choose a style or add a headline and watch your ideas come to life in each suggested template, and preview to see which suits your needs.
If it’s a presentation you’re after, click ‘Create a design’ and select ‘Presentation’. Once in the Editor, click the diamond button in the bottom right-hand corner of the Editor, and search ‘Magic Design’.
