


Get ready to design, construct and create just like real engineers! These colourful building challenges turn everyday materials into mini marvels of science and design. Construction play introduces budding architects and builders to the world of STEM, as they explore how different shapes and materials come together to make structures that are strong and balanced.
Whether you’re crafting a geometric rainbow bridge from wooden craft sticks, stacking cardboard towers to test balance, connecting matchsticks to investigate structural forms or turning old boxes into colourful building blocks, each construction play activity helps you explore how shapes, structure and stability work in the real world.
With a little imagination (and a splash of colour!) you’ll learn the basics of engineering, physics and design thinking, one fun building project at a time.
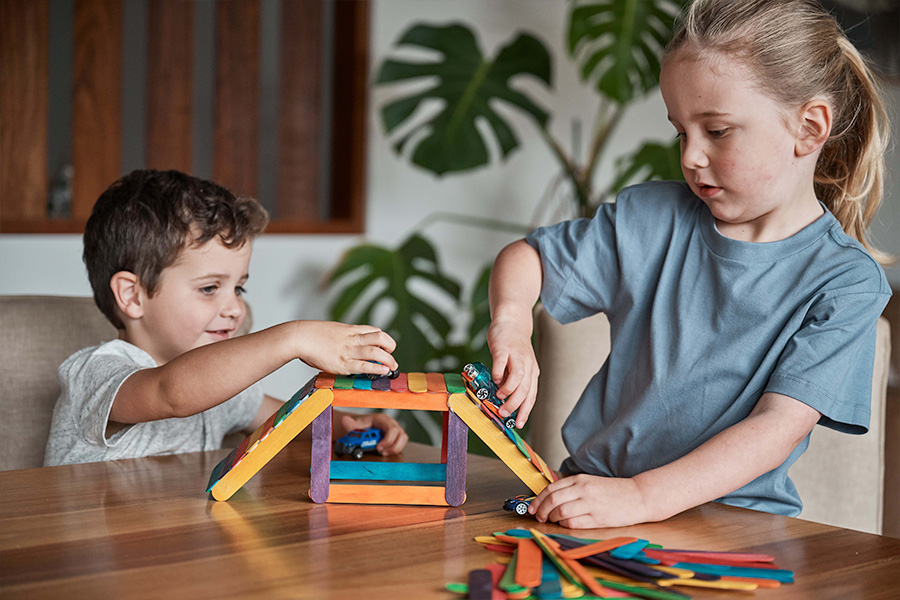
Craft Stick Bridge
Suitable for Ages 4+
From the iconic Golden Gate Bridge to our very own Sydney Harbour Bridge, all over the world these structures are true marvels of engineering. Bridges stretch across rivers, link cities and carry thousands of people every day to and from work and school. And by using only wooden craft sticks and a glue gun, you can build your very own. Learn how shape and balance make structures strong in this hands-on STEM project that mixes creativity and construction.
Step 1: Line up eight popsicle sticks side by side. Grab another two sticks and use a glue gun to glue them lengthways across the top and bottom edges of the lined-up sticks. Repeat this step twice so that you have three separate panels.
Hot Tip: You may want to trim the overhang of the two joining sticks with a pair of scissors so that the side edges are flat for when you glue your bridge together.
Step 2: Make a U-shape with three sticks, then glue another horizontal stick about two-thirds of the way from the bottom of the U (this will be the height of your bridge). Trim the top of the upright sticks with scissors. Glue a stick sloping down from the top of each side, ensuring that the bottom tip of each side is level with the bottom of the U and so that your bridge will sit flatly on any surface. Repeat this step to make another support piece.
Step 3: Glue the top edges of the support pieces to the underside of one of the flat panels, aligning the support pieces on either side of the panel, on the outside of each of the joining sticks.
Step 4: Finally, glue into place the other two flat sections to create the ramps either side of your structure.
What You’ll Need
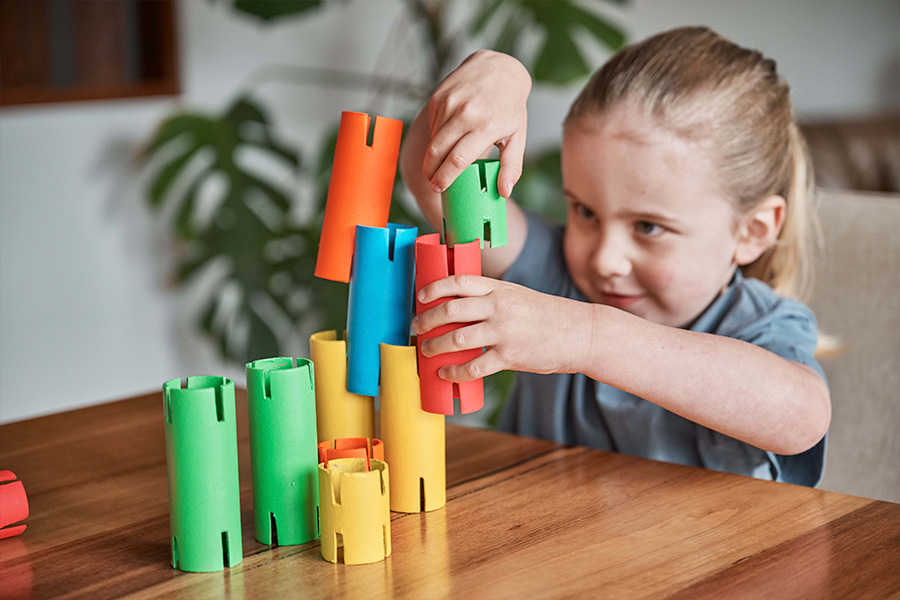
Cardboard Roll Stackers
Suitable for Ages 3+
Turn cardboard tubes into colourful building blocks and learn the basics of engineering while you play. Can you build a castle? Or the tallest tower? What happens when you change the angles or mix different lengths? Explore problem-solving, balance and basic physics, while the bright colours make every structure into a work of art. Design, test and rebuild, just like real architects and engineers.

Step 1: Take each cardboard roll and make a cut at the top with scissors, approximately 3mm wide and around 12mm deep. Then make an identical cut on the opposite side of the circle. Now add another two cuts between them, so that you have four cuts 90 degrees apart from each other.
Hot Tip: It doesn’t really matter how long the cuts are, as long as they are all the same.
Step 2: Turn the cardboard tube around and make the same cuts on the other end.
Step 3: Create as many stackers as you think will complete your structure, or until you run out of tubes!
Hot Tip: Try cutting a few of the rolls in half, so you have some half-size stackers.
Step 4: Now it’s time to paint your stackers. Use as many different colours as you like to create a rainbow of stackers.
Step 5: Once the paint is dry, get stacking!
What You’ll Need
- Educational Colours Hygienic Craft Rolls 110 Pack or recycled cardboard rolls
- J.Burrows Comfort Grip Scissors 8"/203mm
- Born 12mL Acrylic Paint 24 Pack
- Reeves Acrylic Short Handle Brush 4 Pack
SEE ALSO: How to Create Tape Art With Kids
Matchstick Structures
Suitable for Ages 4+
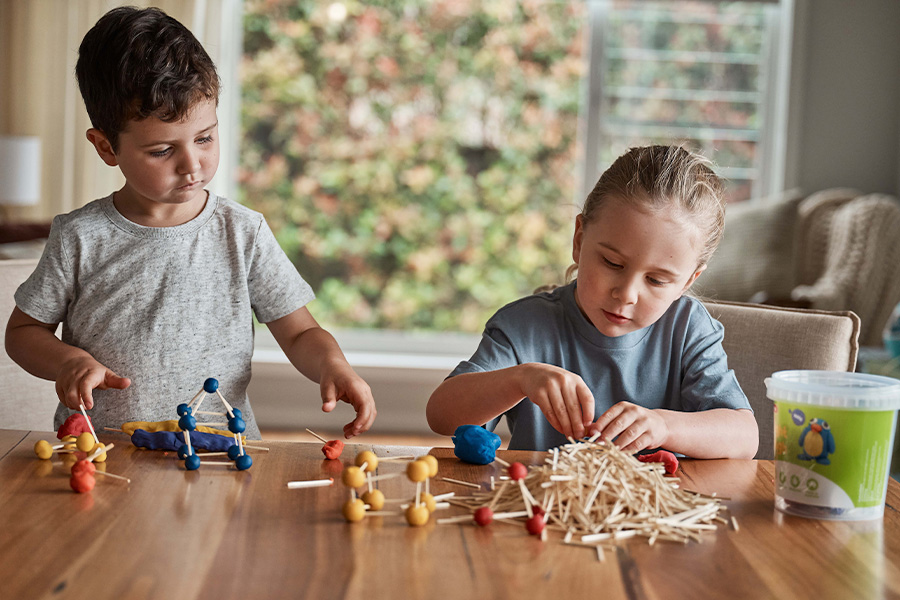
Build amazing 3D shapes using playdough and matchsticks, from cubes and pyramids to towers of every shape! Learn about stability, balance and structure by testing which designs stand firm and which ones wobble. With colourful dough and endless possibilities, this hands-on activity is the perfect mix of art, engineering and imagination for curious young builders and future inventors.
Step 1: Roll the playdough into small balls with your hands.
Step 2: Construct a shape by pushing the ends of matchsticks into the playdough.
Step 3: Move on to your next colour!
Hot Tip: If you need a few ideas, download our matchstick structures guide.
What You’ll Need
SEE ALSO: STEM Activities for Preschoolers that Teach Problem Solving

Recycled Box Builders
Suitable for Ages 3+
Forget fancy building blocks; you’ve got everything you need right at home. Old toy boxes, small cereal packets and kitchen packaging can all become amazing construction materials. Decorate them with coloured paper, washi tape and stickers and stack them high. Proof that the best building projects start with a little imagination (and a few recycled boxes!).
Step 1: Collect as many boxes as you can find (just make sure they aren’t needed anymore). To make sure your blocks are sturdy, add some extra tape to the ends of the box before you start wrapping.
Step 2: Wrap each box tightly in coloured paper, creasing firmly along every edge and folding the corners square so the edges are crisp and smooth to ensure stable stacking.
Step 3: Then comes the fun bit! Add some pizzazz to your blocks with washi tape and colourful stickers.
Step 4: Get building!
What You’ll Need
- Keji Clear Adhesive Tape with Dispenser 18mm x 25m 2 Pack
- Kadink Construction Paper A4 Assorted 500 Pack
- Kadink Merit Stickers 210 Pack Assorted Stars
- Avery Circle Dispenser Labels Fluoro Green 14mm 700 Pack
- Avery Circle Label 14mm Fluorescent Yellow 350 Pack
- Avery Dispenser Labels Circle 14mm Fluorescent Pink 700 Pack
- Otto Washi Tape Pastels 10 Pack
SEE ALSO: 3 Ancient Egypt Crafts for Kids
This article was originally published in September 2020 and has been updated.
